米6体育APP -集团有限公司位于河南省郑州市巩义市。米6体育APP 的烘干机设备和废纸打包机设备,操作简单。以严格规范的服务体系竭诚服务,不断进行改进,严格工艺,以质量求生存,信誉求发展。 米6体育APP 机械欢迎各地新老客户前来实地洽谈指导。
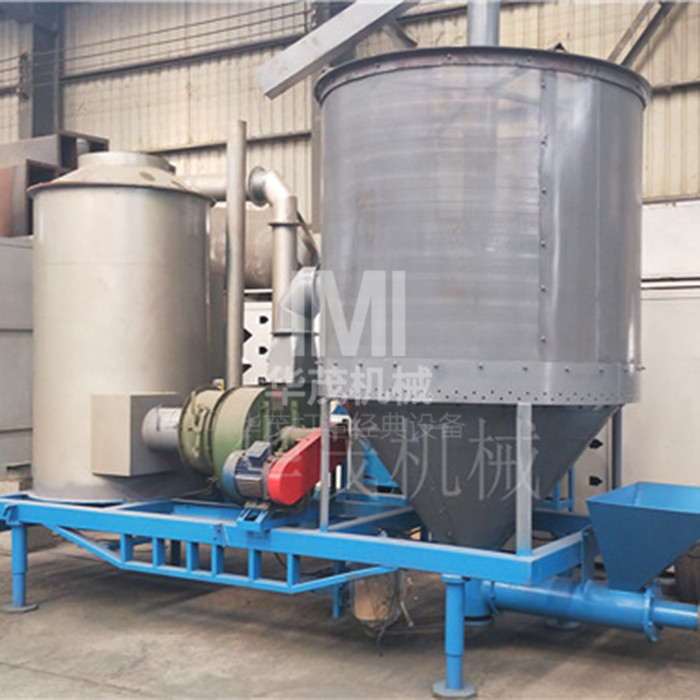
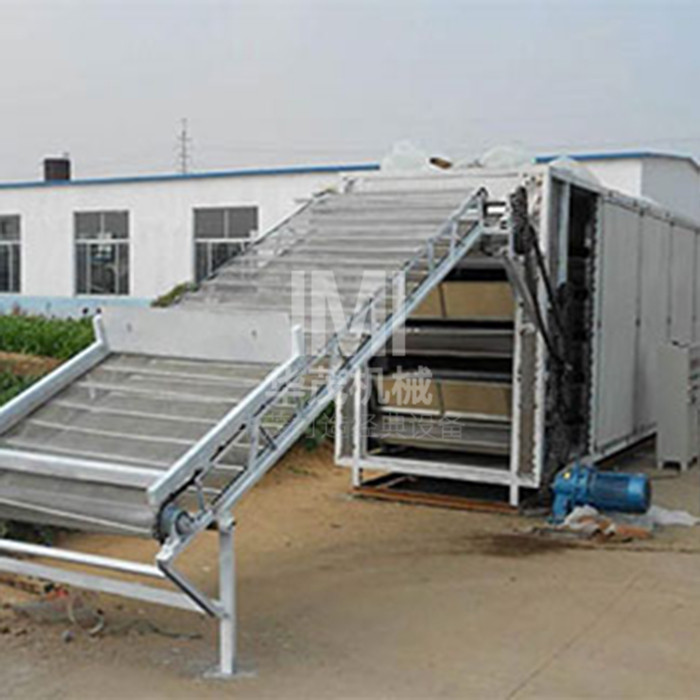
网带烘干机 可满足多种中药在常温和变温条件下的干燥要求,包括集装箱干燥设备和隧道式干燥设备。 网带烘干机的...
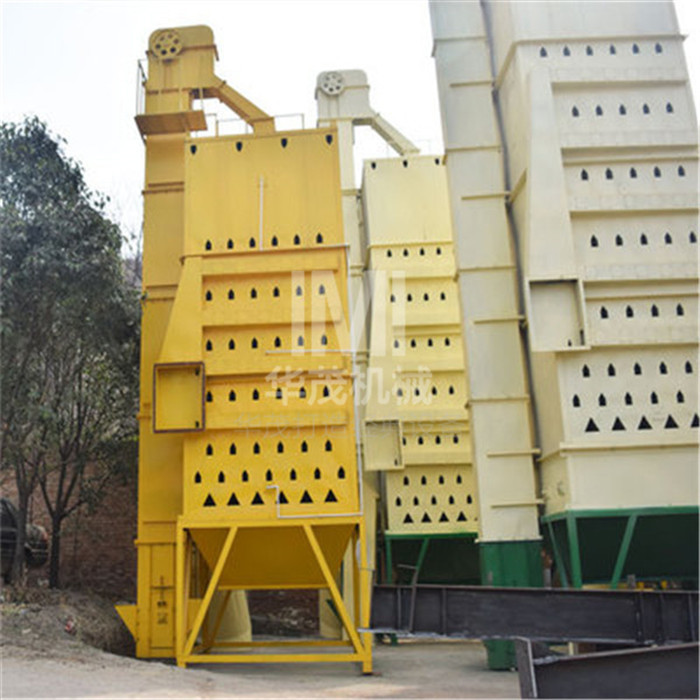
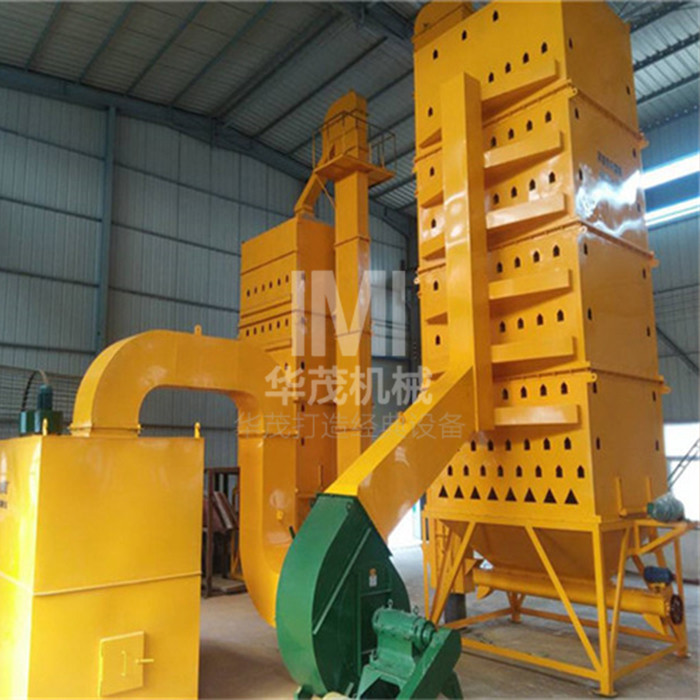
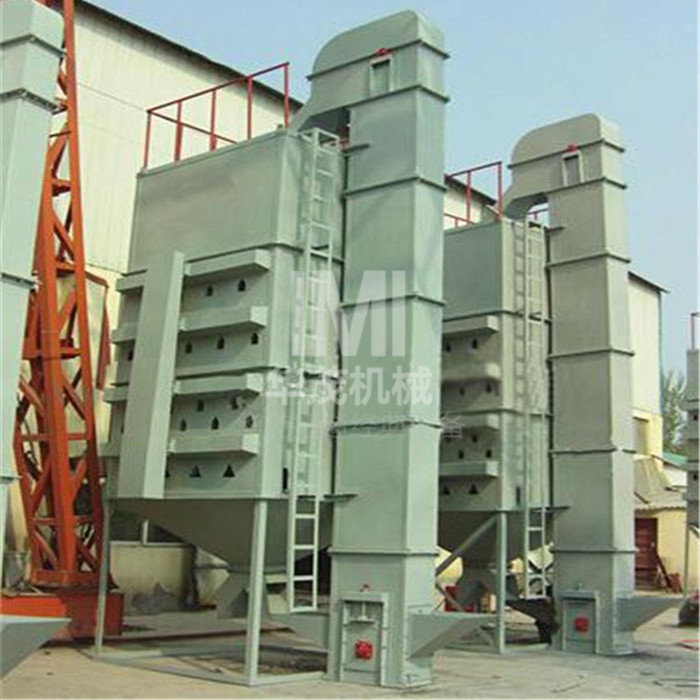
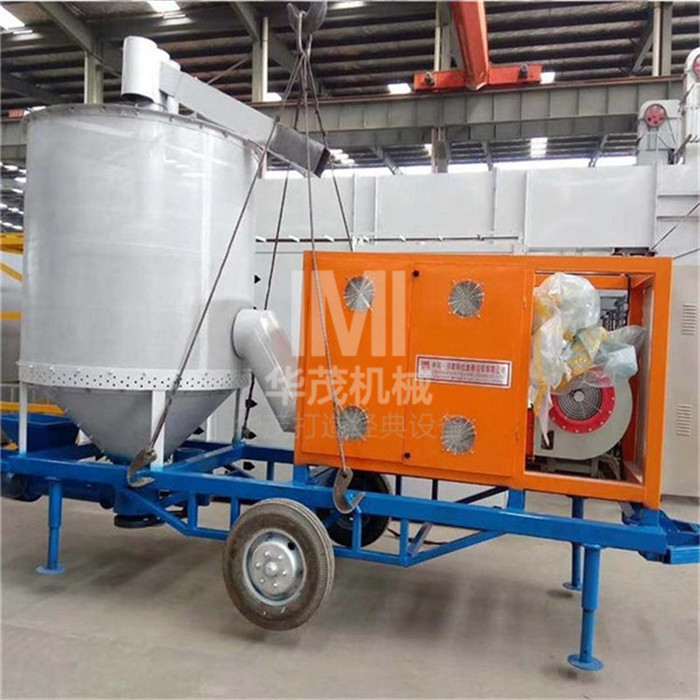
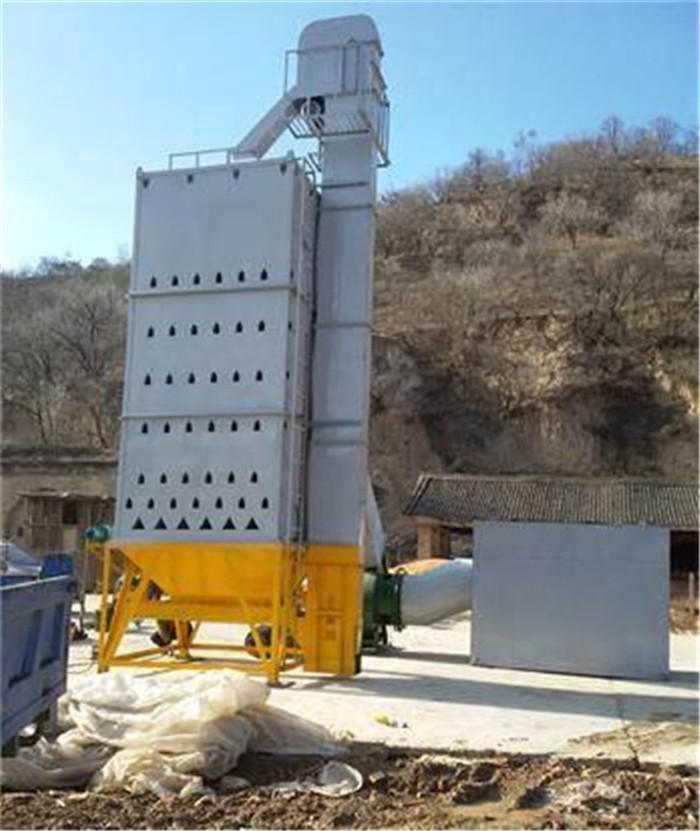
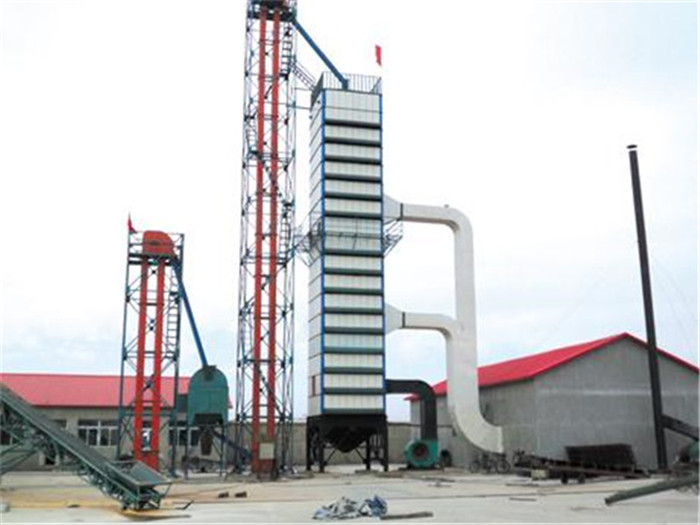
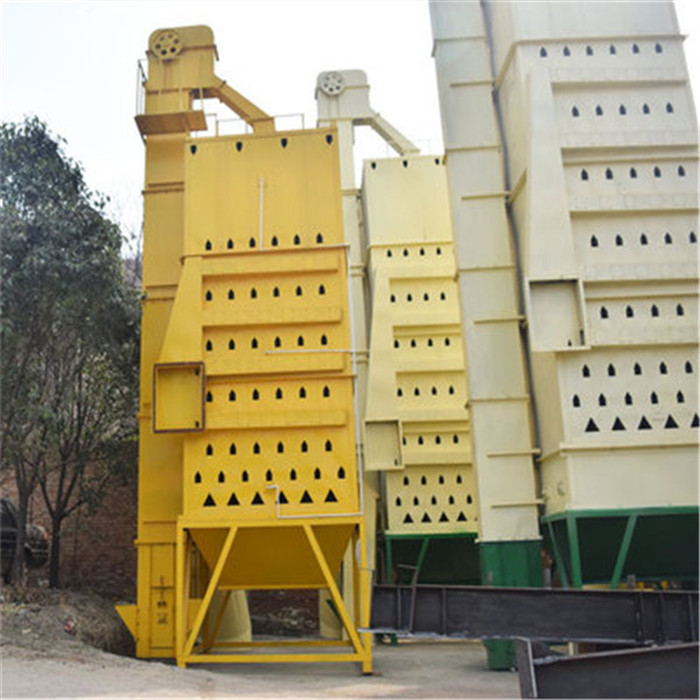
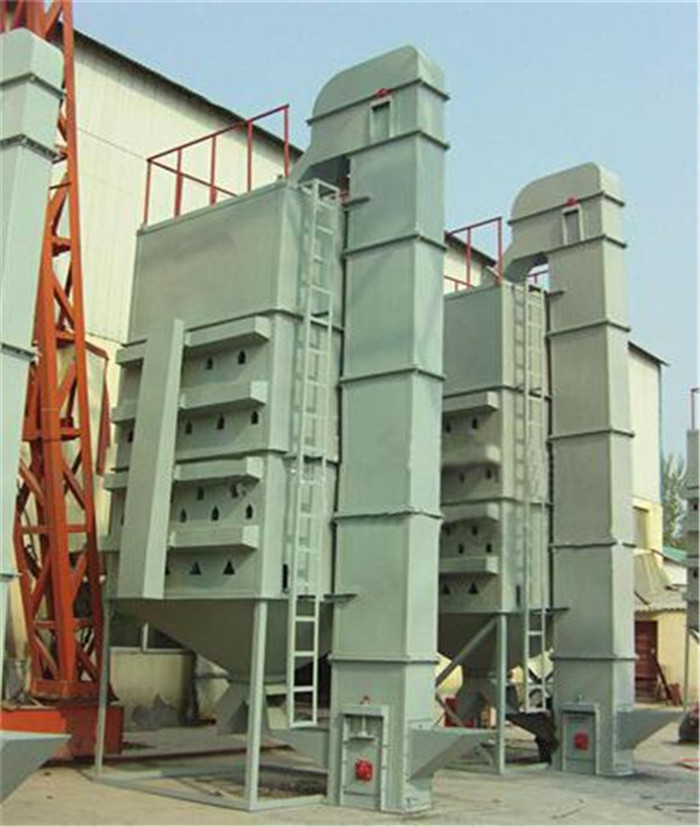
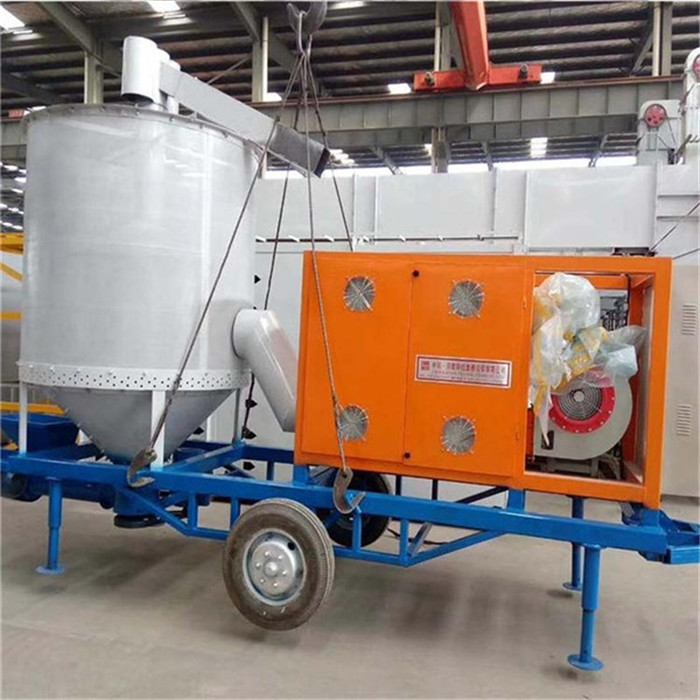
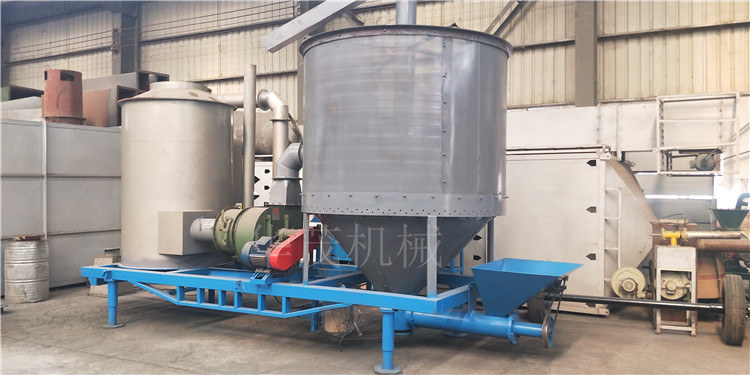
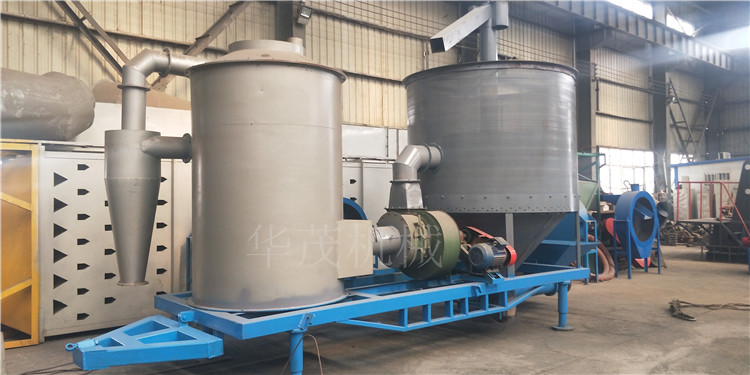
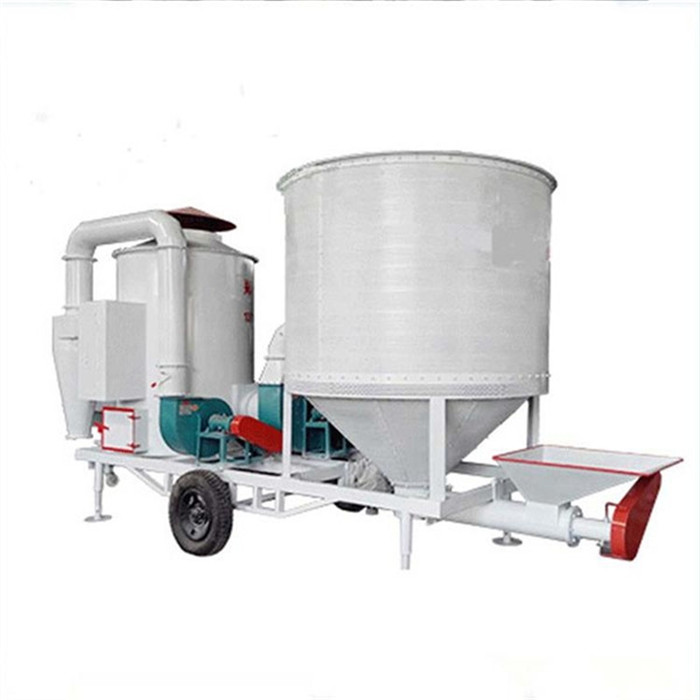
稻谷烘干机 可用于真空工作。在真空处理过程中,由于烘干机的筒体是铸造的,没有漏洞和间隙,可以创造出真空度很好的...
扫一扫,关注我们
联系人:许经理
手机号码:13613848268
手机号码:13938527120
QQ号:1286585375
公司地址:河南省郑州市巩义市